Every Zelda: A Link Between Worlds
As the first step in my current challenge, I have now finished A Link Between Worlds with 100% completion. Took me a little over a week, which is pretty good going really.
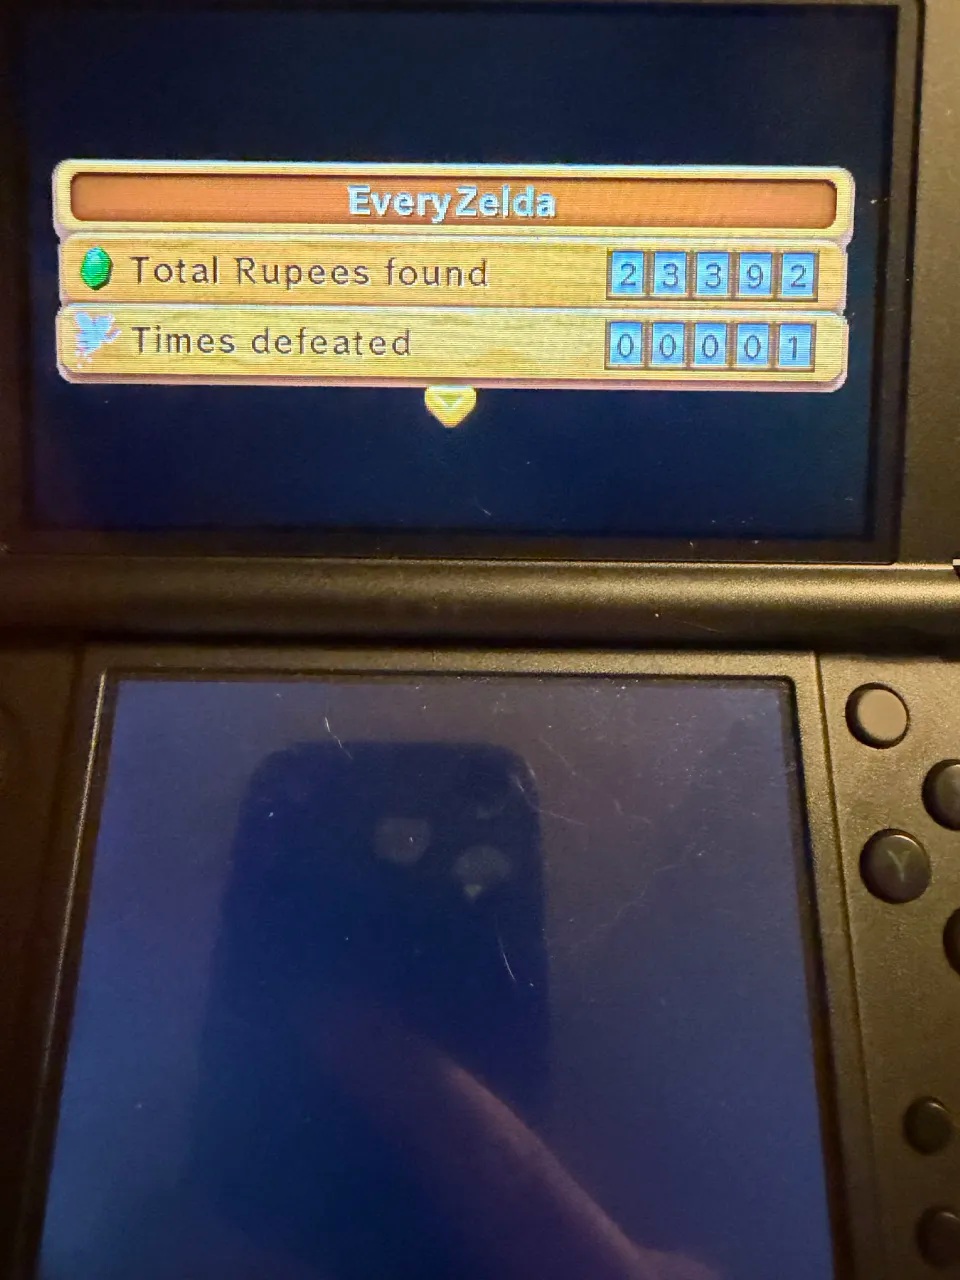
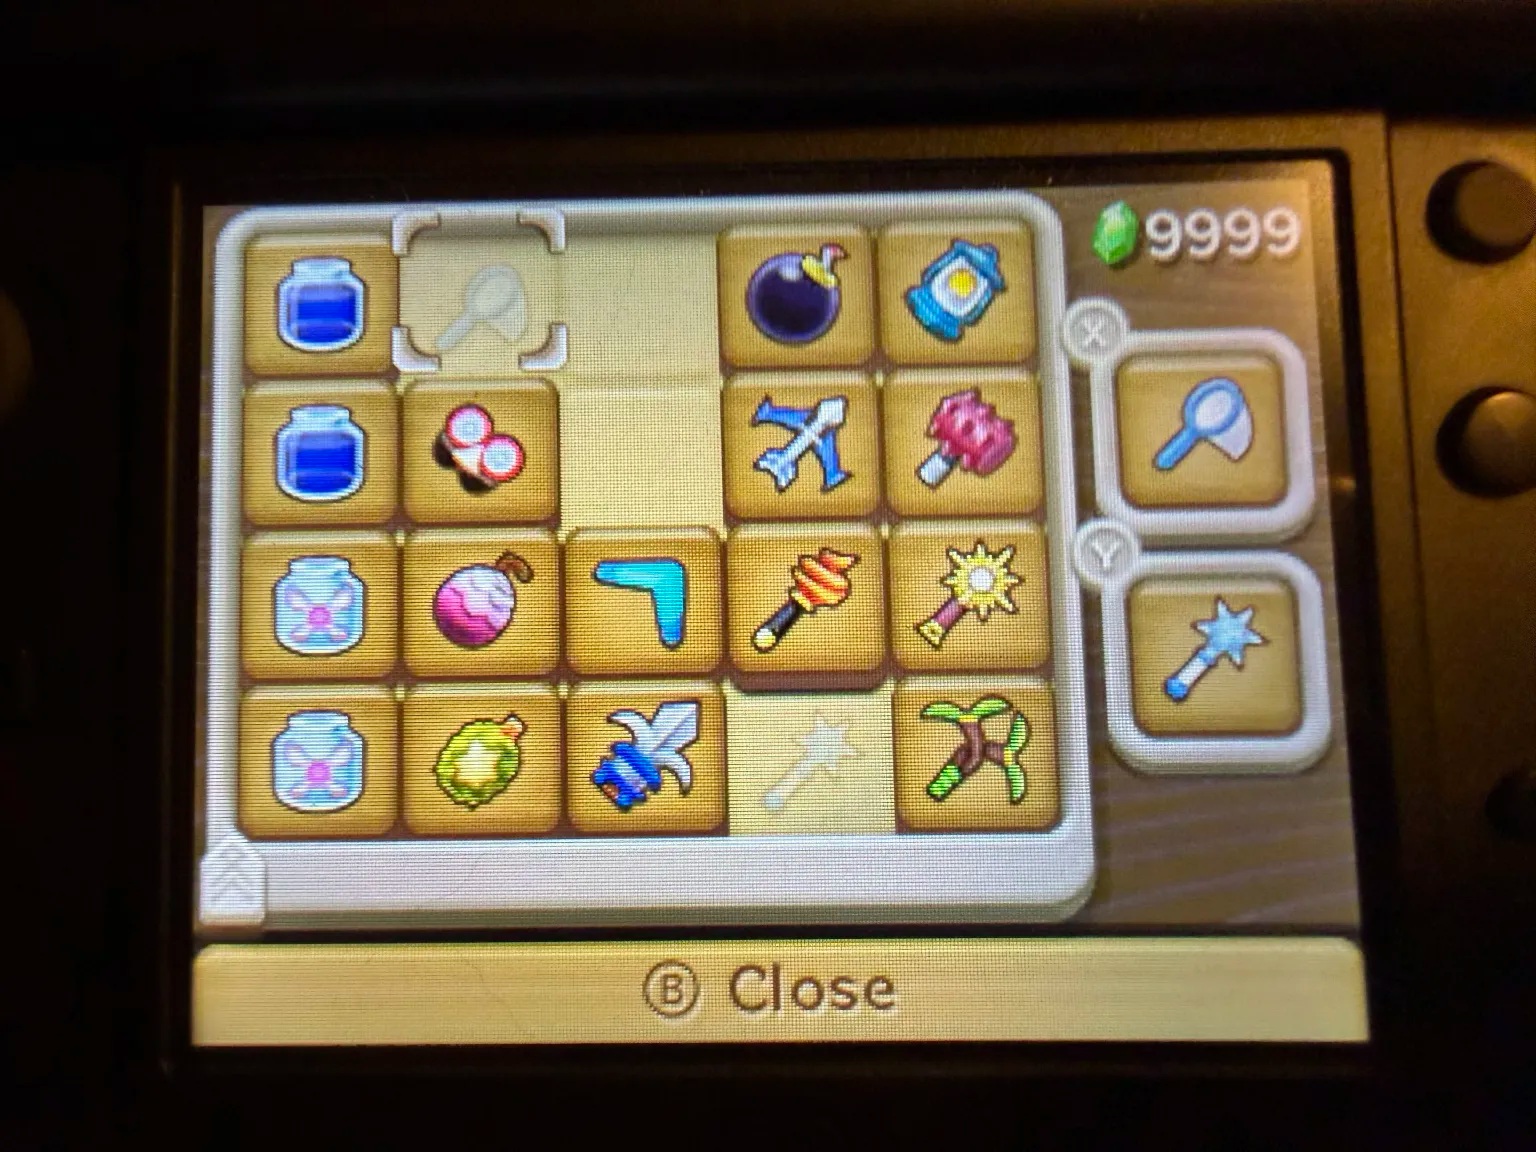
I ended up playing this on my hardware 3DS so I only have limited screenshots to liven up this article, which are bad “phone photo of the 3DS screen” shots. But I got the proof of 100% completion.
What Happens
A probably too wordy summary of the game’s plot:
Click to expand
Link is a blacksmith's apprentice living in a Hyrule that seems to be the same as the one from Link to the Past. One day the Captain of Hyrule Castle comes in to pick up his new sword, but forgets to take it with him. Link is dispatched to bring it to him. Following him to the Sanctuary, Link finds it seemingly under attack with the door locked, hearing cries from Seres, a nun who works there.
Directed by Dampe the grave digger, he enters a secret passage to reach the interior Sanctuary using the Captain's sword to defend himself. Reaching the inside of the sanctuary, he finds the evil wizard Yuga who transforms Seres into a painting. Yuga defeats Link and knocks him unconscious using his ability to turn himself into an animate drawing on the wall, and leaves with Seres.
Upon awakening in his house, Link finds the rascally Ravio, who claims to be a travelling merchant, has taken him home to recover. Ravio invites himself to stay at Link's house, and gives Link an old bracelet as payment. Link sets off to the Castle to inform them about Yuga.
At the Castle, Link is admitted by Impa, Zelda's maid, and views a series of paintings detailing the backstory of the Seven Sages, the Triforce, and Ganon, as well as picking up a hint that Impa is a Sage. Zelda then meets Link, and says that she has seen him in dreams. After Link explains the situation, Zelda asks him to meet Sahasrahla, the elder of Kakariko village. She also gives him a special green charm.
Link meets Sahasrahla who surmises that Yuga is after the (descendents of) the Seven Sages, as Seres is one. He realises that his apprentice Osfala, who is also a Sage descendent, is in danger at the Eastern Palace and asks Link to go rescue him.
Attempting to reach the Eastern Palace, Link finds an obstacle he can't overcome without a bow and arrow. He also finds signs directing him to Ravio's shop, located at his house. Returning there, Ravio lends Link the bow and arrow, waiving the rental fee as a one-off.
Back at the Eastern Palace Link finds Osfala, who ignores the warning about Yuga and enters the Eastern Palace. Link follows, and at the center of the palace finds Yuga transforming Osfala into a painting. Yuga and Link fight, and Link gains the upper hand until Yuga transforms him into a wall drawing. Yuga leaves with Osfala, but a short while later Link's bracelet activates and allows him to exit the wall. The bracelet further allows him to merge and exit flat walls at will, the main mechanical gimmick of this game.
Link uses this newfound ability to traverse the exterior of the palace to the exit. He meets Sahasrahla, and they head back to the castle. The castle is now surrounding by an ominous magic barrier, and Sahasrahla decides Link needs to find the master sword to break in. To do that, Link needs to get the 3 pendants of virtue. The Princess's charm is the first, and the other 2 are in 2 more dungeons. Link sets off to find them.
2 dungeons pass relatively uneventfully and Link gets the two pendants. Then he heads to the lost woods and grabs the master sword. Finally he heads back to the castle and breaks the magic barrier with the master sword. Heading inside he finds Yuga in the middle of transforming Zelda into a painting. Yuga flees and Link pursues. Link catches up and beats his ass in another boss fight, and he flees again. Following once more, Link finds the highest tower of the castle empty. He slashes a wall hanging and finds a mysterious magical crack in the wall. He merges with the wall and enters the crack, and finds himself transported to another world: Lorule.
Entering Lorule Castle, Link finds Yuga surrounded by the paintings of Zelda and the 7 Sages. Yuga uses their power to summon Ganon and the Triforce of Power, and merges with them becoming a hybrid monster (Yuga-Ganon). Yuga-Ganon is about to kill Link when Hilda, the Lorule equivalent of Zelda, appears and freezes Yuga-Ganon with magic, and whisks Link to safety. Somewhere in there the paintings of the 7 Sages got scattered, but not Zelda who remains with Yuga-Ganon.
Hilda explains that Link needs to gather the paintings of the 7 Sages to awaken his true potential as a hero while she holds Yuga-Ganon back from taking over the worlds. Link then awakens in the Lorule blacksmith. Link sets off to adventure with a few final words from Hilda about how he'll need to traverse rifts between the kingdoms, and that Lorule is a mean place.
Link completes 7 dungeons, rescuing the 7 Sage/Paintings from each (and completing a lot of sidequest stuff along the way for 100%). He returns to Lorule Castle and enters for the final gauntlet.
After fighting through the castle, link reaches the throne room and finds Princess Hilda alone. She tells like that Lorule is as fucked up as it is because the previous king destroyed the lorule triforce to try and prevent war, which was a huge mistake. She has been manipulating link into getting the triforce of courage and bringing it to her. She summons Yuga Ganon and they fight for a bit.
When yuga cannon is on the ropes, Hilda demands he hand over the triforce of power to her so she can defeat link. Yuga-Ganon instead betrays her, turns her into a painting and absorbs her and the triforce of wisdom.
After a quick round of classic Zelda magic orb tennis, Yuga-Ganon retreats into the wall. Zelda (still a painting) gives Link the Bow of Light, which can be fired while merged into a wall, to force Yuga-Ganon out of the wall so he can be whacked with a master sword. Link repeats this a few times to defeat Yuga-Ganon who dies and vomits up Hilda.
Zelda gets unpaintinged (somehow) and Hilda wakes up, still determined to steal the triforce. Ravio pops in and reveals that he is the lorule link. He’s also been manipulating link, but in order to stop Hilda from doing terrible things for Lorule. He convinces her to give up on stealing the Hyrule triforce.
Hilda takes everyone to the Lorule sacred realm which contains the original crack leading to hyrule. She sends Link and Zelda back to Hyrule using Link/Ravio's bracelet, sealing off the crack in the process.
Link and Zelda wind up in the hyrule sacred realm. They use the now-whole Hyrule triforce, which has the power to grant wishes, to wish for the Lorule triforce to be restored. Everything ends happily. After credits, link returns the Master Sword to its plinth.
General Review
In the past I’ve been pretty high on ALBW. This playthrough put me slightly lower on it, but like a 9/10 instead of a 10/10.
ALBW has a more open world structure than most Zelda games, especially in the second half where you can go to the 7 Lorule dungeons in mostly any order. This is driven by the item rental system, which is a nice twist on the classic Zelda formula. Having the ability to just get any item and do 90% of the puzzles in the game from pretty early on is great, especially on a replay. It also gives the dungeons a different vibe as you don’t spend the first half of the dungeon trying to find the main item to unlock all the puzzles. Instead the dungeons tend to feel more linear, as you just grind through the dungeon. There are big chests with optional upgrade items in most of the dungeons which provide a nice bit of dopamine midway through.
The main gimmick of this game, merging with walls, is very well done. It never feels stale through the whole game, and has endless uses. It feels like a “rune” from Breath of the Wild or Tears of the Kingdom, but even more widly applicable than the best of those. The “magic meter” refilling fairly quickly and being shared between all items also works really well to encourage you to use your items consistently. They got the balance right where you rarely feel like you just need to wait for it to refill.
My main criticisms of the game are that it feels fairly easy, even though it has the unique rental death mechanic going on, and that none of the dungeons or items (other than the wall merging) feel really standout and unique. It’s possible I should have played on “Hero” difficulty.
Had a lot of fun overall.
Sidquests and Stuff
Not too crazy to get 100% in this one. Partly this is because a good chunk of the side content are random puzzle dungeons that just reward rupees. I did all of these that I came across but it’s definitely possible I missed some. There’s no way to track it, especially since I ended up with 9999 rupees anyway.
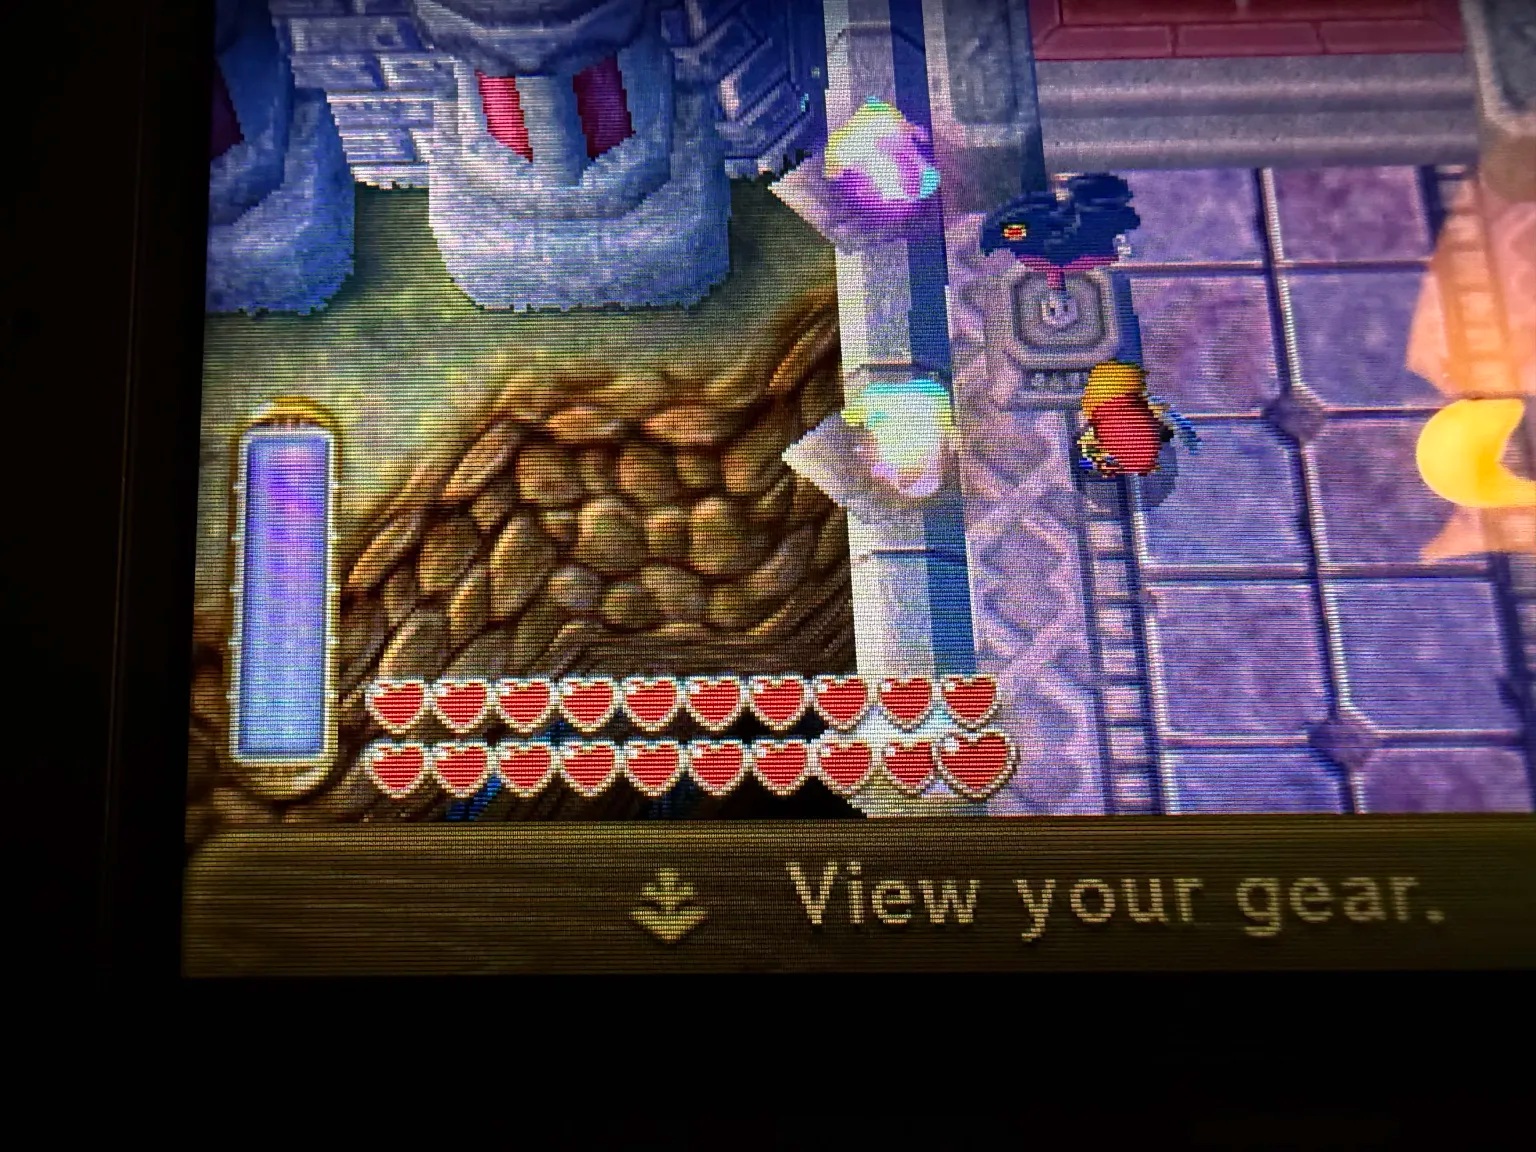
You finish with 20 heart containers in this game: start with 3, 10 from dungeons, and 7 more from 28 heart pieces sprinkled throughout the game. It felt like there are quite a lot that are just “have a specific item in a specific place” which could be obtained basically at any time. There are also a standard selection that come from minigames.
Speaking of minigames, there are a few and none of them were terrible. My least favourite was the the “Octoball Derby” which is basically baseball, but even that I managed after a few attempts. There’s pure gambling, “Rupee Rush” which was fine, and “Treacherous Tower”.
Treacherous Tower is a combat minigame where you go through a number of floors (5, 20, and then 50 on different difficulties), each of which is filled with enemies in preset patterns. It’s fun enough but they decided to make half the floors icy, which is annoying, and the 50 floor version is a little long. This is made worse by the fact you need to do it twice. The middle difficulty rewards a heart piece but the 50 floor difficulty rewards upgrades for your lamp and bug net over 2 completions. These upgrades are pretty useless because even with the upgrades, they’re not worth using over “real” items. It also rewards 5k rupees per completion which is how I ended up with 9999 rupees at the end of the game.
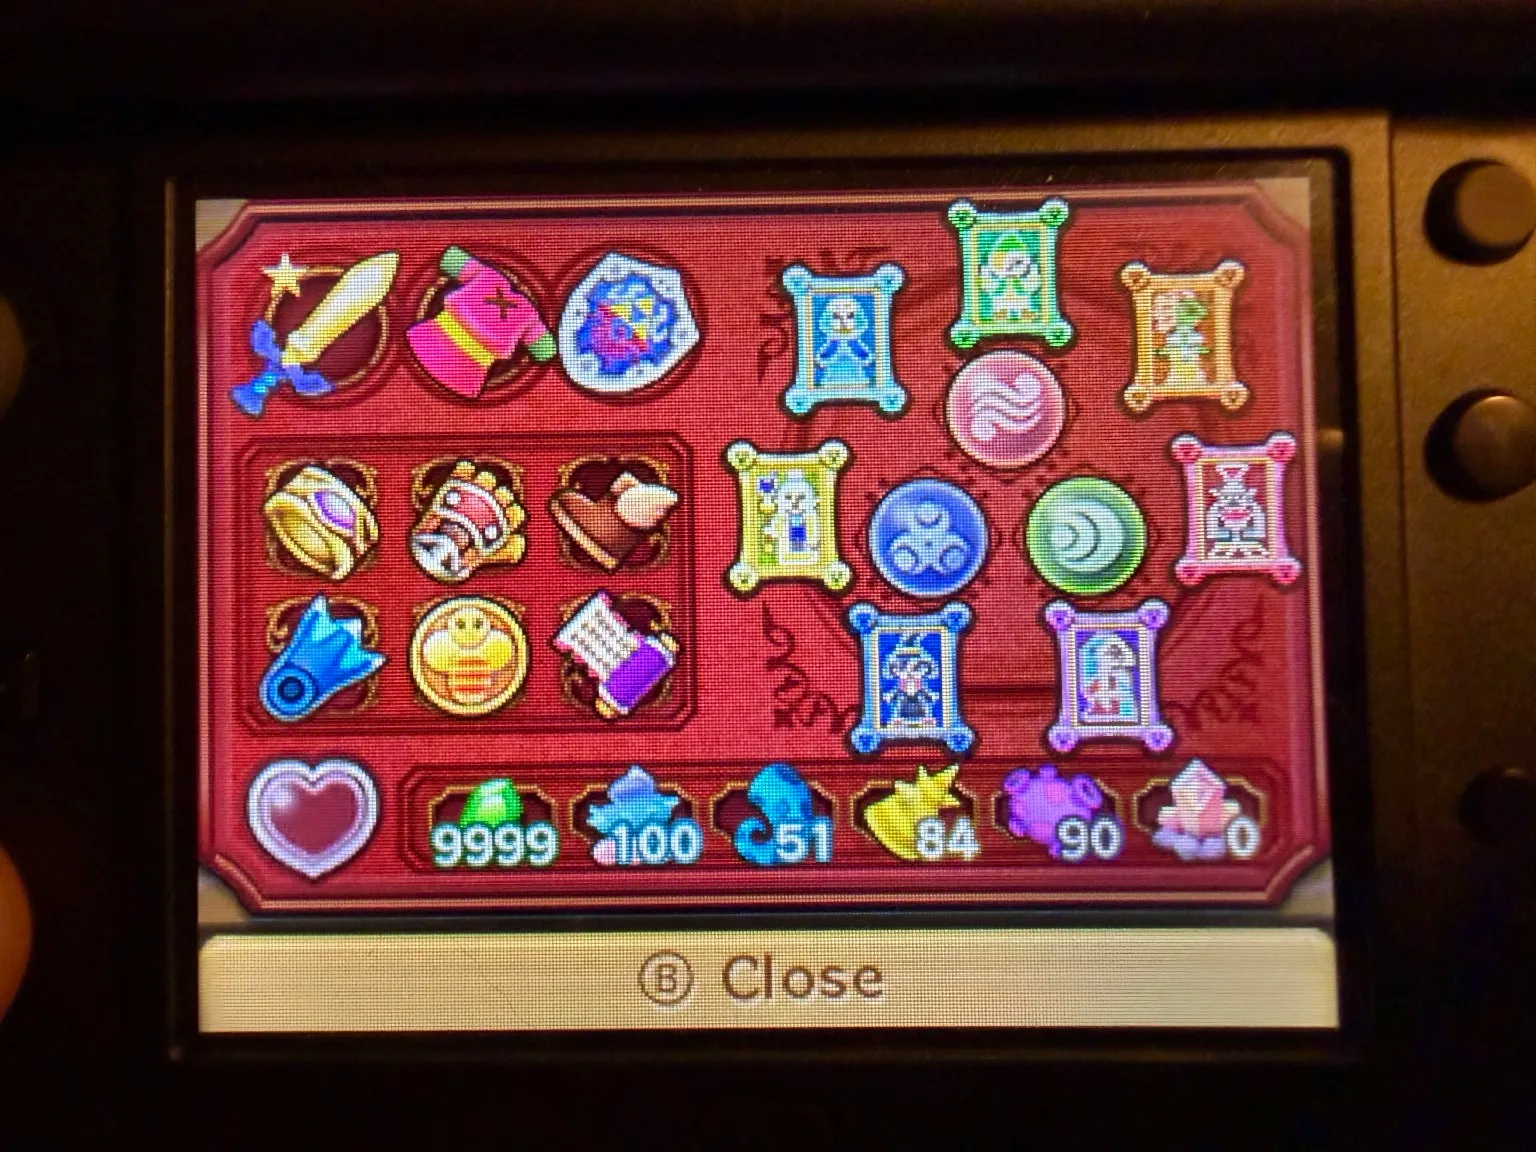
The final elephant in the room is the Maiamai sidequest. You can meet Mother Maiamai early on, and she asks you to round up her children. A maiamai, by the way, is a weird octopus creature that wears a shell on its head, and seems to be made up for this game. These are sprinkled around the game quite liberally, 100 in total. You find them hidden on various bits of scenery, such as by charging into trees, lifting rocks, or using wall merge to pop them off walls. You get annotations on the map to show you how many are in each area, and they make a fairly loud sound when nearby, which was enough info for me to get them all without a guide. I found around 60 just by playing and picking them up and had to round up the remainder in a focused sweep near the end of the game.
The best part of this sidequest is the rewards. For every 10 maiamais rescued, Mother Maiamai will permanently upgrade one of your items (that you need to have purchased outright). This will do stuff like make the bow shoot a spread of 3, make the bombs explosion larger, etc. For the full 100 she gives you an upgraded spin attack, which hits most of the screen. Very useful for Treacherous Tower. Very cool rewards, really motivating for me (unlike the useless upgrades from Treacherous Tower).
100% Addendum
After writing this I found a better source for a 100% checklist which I’ll be referring to from now on. The main upshot for LbW is that I missed a Bottle (which fills the inventory nicely when you also remember the bow of light only given in the final boss fight). There’s also a giant cuckoo easter egg thing, which I’m discounting because I don’t want to play that minigame, and the street pass stuff which I’m discounting because I either can’t or don’t want to do it. I went back for the bottle.
Remaining Games List
- The Legend of Zelda
- A Link to the Past
- Link’s Awakening
- Oracle of Seasons
- Oracle of Ages
- The Minish Cap
- Phantom Hourglass
- Spirit Tracks
A Link Between Worlds- Echoes of Wisdom (Not rolled this time because I forgot it, see original blog post)
And the roll for the next game is…
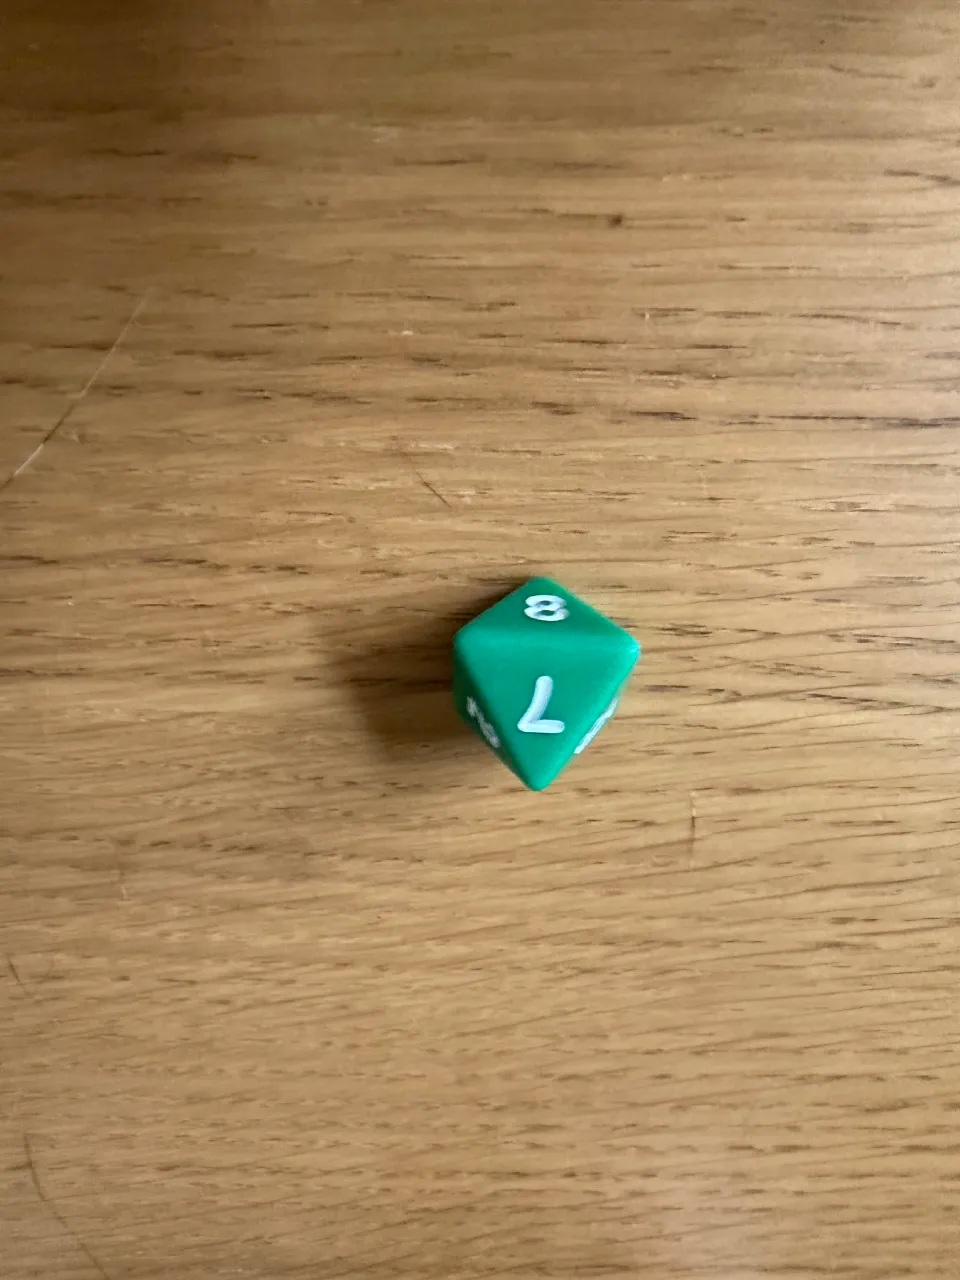
Phantom Hourglass
Back to the DS.